Would you like to improve the effectiveness of your email campaigns and achieve click-through and conversion rates as high as 170% and 100%, respectively? Look no further! With our platform and Spotler Webpower, you can easily integrate videos into your emails to create engaging loyalty, cross-selling, upselling, and branding campaigns. Try it out and discover the benefits of incorporating videos into your email marketing strategy.
1. Sign in to your Viewed account
To access your account, simply navigate to our platform page at www.viewed.video and click the "Login" button located in the top right-hand menu. From there, you'll be prompted to log in and can begin utilizing our services.
If you don't have an account yet, create a free Viewed account. All you need is a corporate email address and to fill out a short form as shown in the image below.
You just need a corporate email and fill in a short form as shown in the picture below.
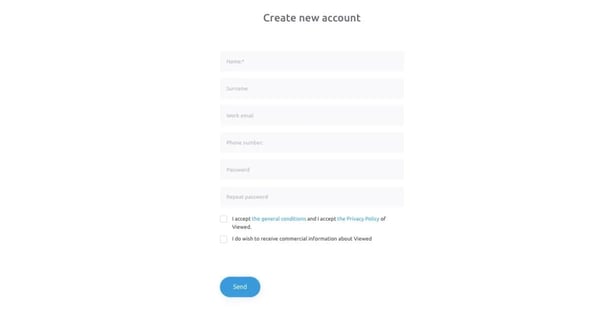
In the event that you are a freelancer or small to medium-sized enterprise without access to a corporate email address, don't fret! Reach out to us at support@viewed.video and we'll assist you in creating one.
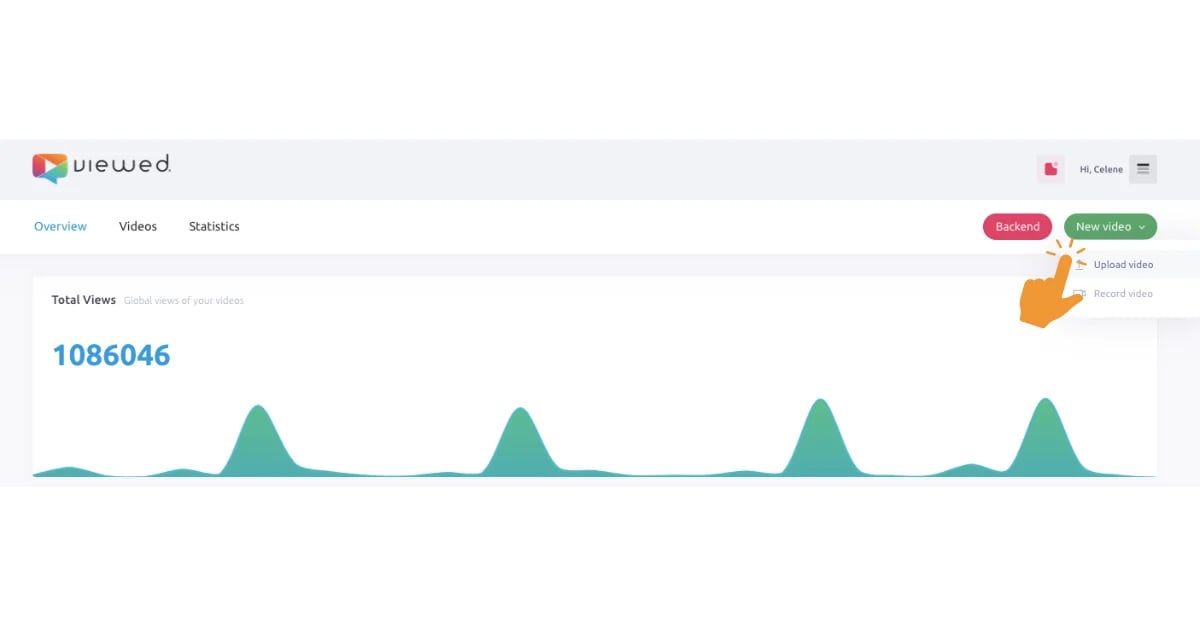
2. Upload your video file
At Viewed, we transmit millions of videos via email on a daily basis with the aid of our powerful servers, which are operated in collaboration with Amazon and Google Cloud. Our infrastructure can handle any amount of user traffic and video volume, ensuring seamless delivery to your audience.
Ready to get started?
- Click on the "Upload a video" button located in the top right-hand corner of the page.
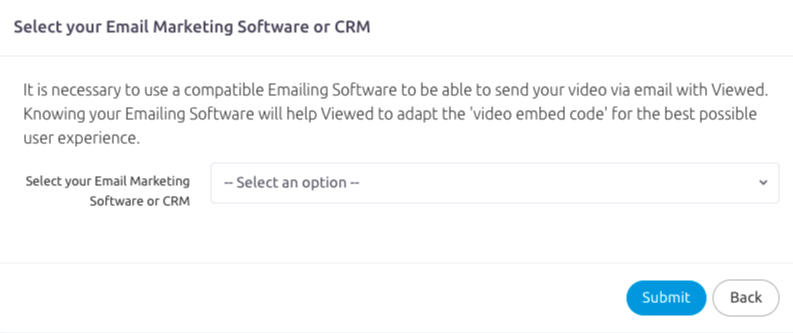
- Upon your initial video upload, we'll ask you to specify the email service provider (ESP) you typically employ for your email marketing campaigns to ensure compatibility with our platform. Be sure to check out our integrations list as well for additional options.
- Next, input the required information as outlined below:
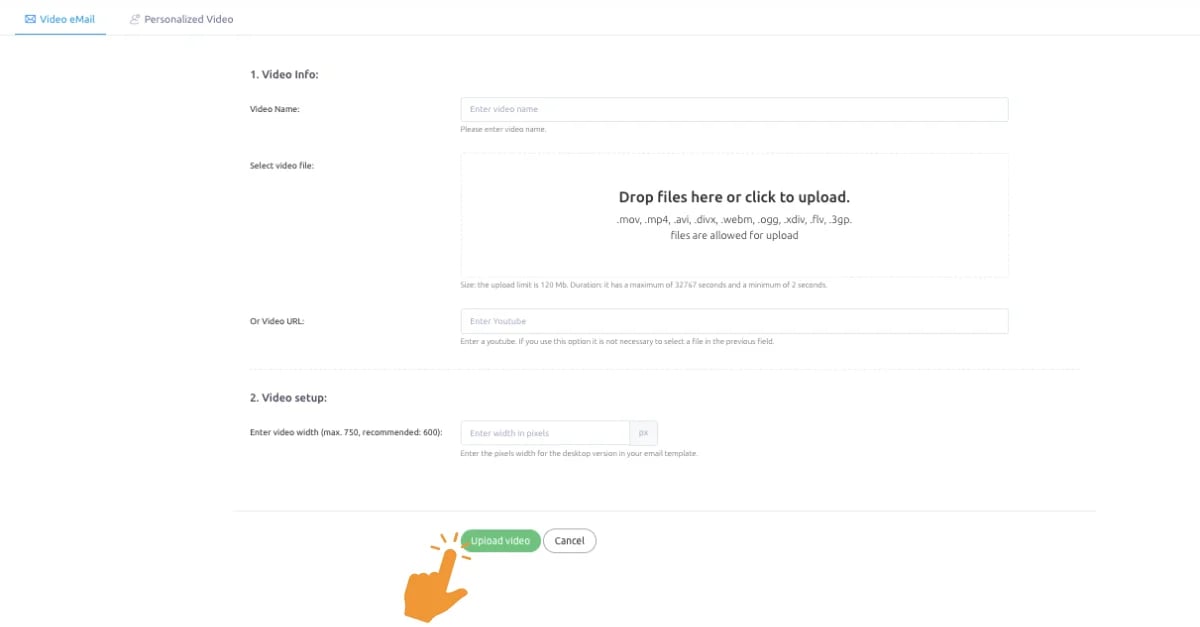
- Video name: This is simply a name used to identify the video within your list.
- Video file: Select your video file by either dragging and dropping it or clicking the browse button to locate it on your computer. Alternatively, you can copy a link from YouTube or Vimeo. Please note that the maximum file size allowed is 120 Mb with a maximum length of 32,767 seconds.
- Video width: This field specifies the width of your video in pixels within your HTML template. The maximum width allowed is 750 pixels, though we recommend a width of 600 pixels.
3. Coffee Break!
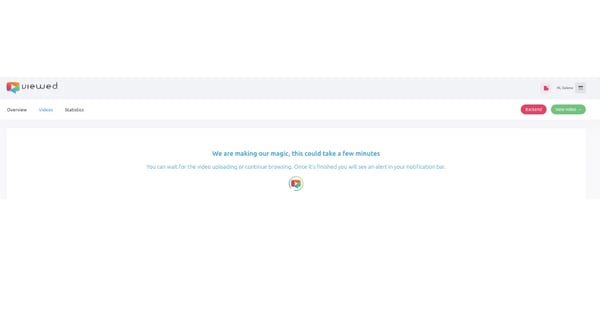
Take a moment to enjoy a cup of coffee while our system prepares your video. Rest assured that this process will only take a few minutes, and our platform will handle everything for you. Viewed will automatically generate all required video formats to ensure optimal viewing experiences across all operating systems, devices, and browsers. So sit back and relax while we take care of the rest.
It's time for a cup of coffee. This process will only take a few minutes for your video to be ready.
Relax, our system will take care of everything. Viewed will automatically create all the necessary video formats to deliver the best possible experience to every OS, device and browser.
4. Obtain the Embed Code to Insert a Video in an Email
Navigate to the "Share Video" section to explore the various options available for embedding your video within an email.
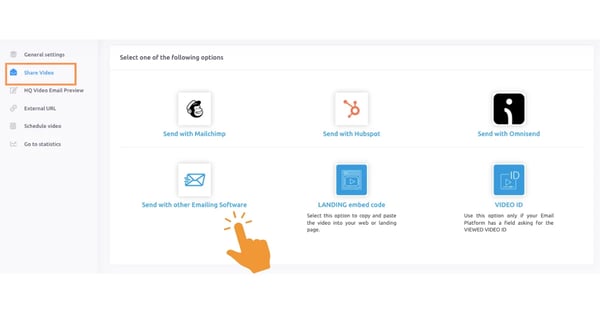
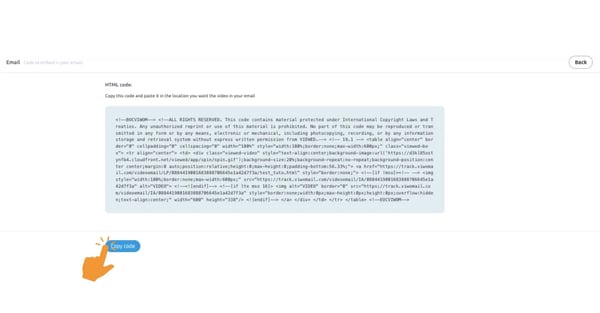
Choose the "Send with other Emailing Software" option to obtain the appropriate code for embedding a video using Spotler Webpower.
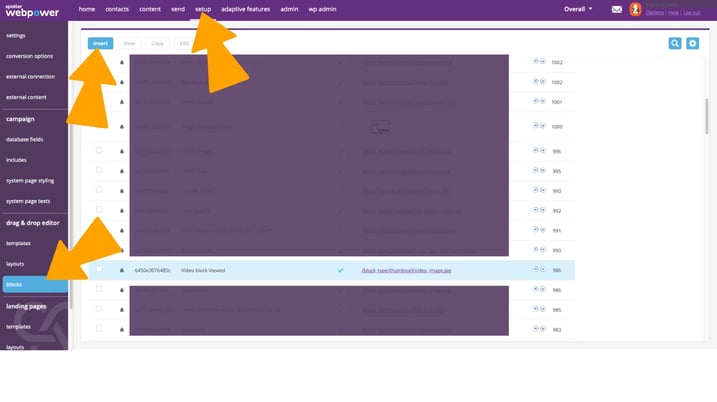
5. Is time to go Spotler Webpower to create a video block
Go to “setup”, “drag and drop editor” and “blocks”. Press “Insert” to create a new video block
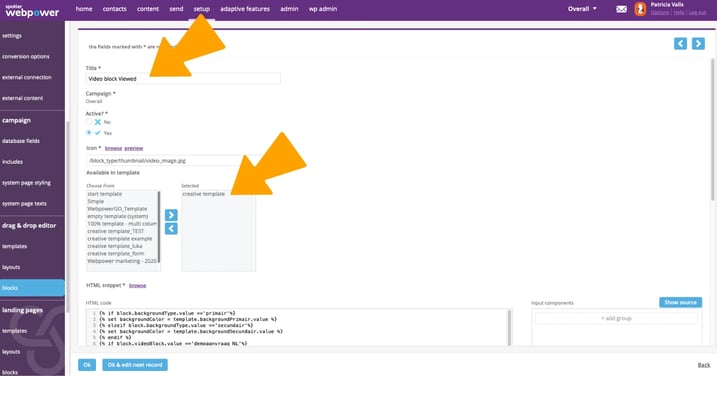
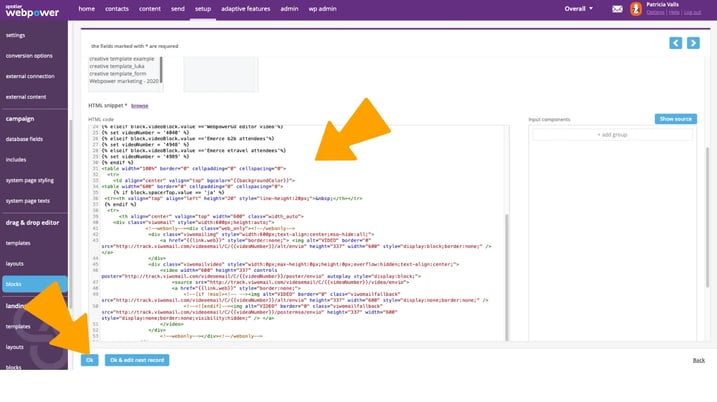
Insert “Title” of the block, choose the “template” where you want the block, paste the HTML code and click "OK".
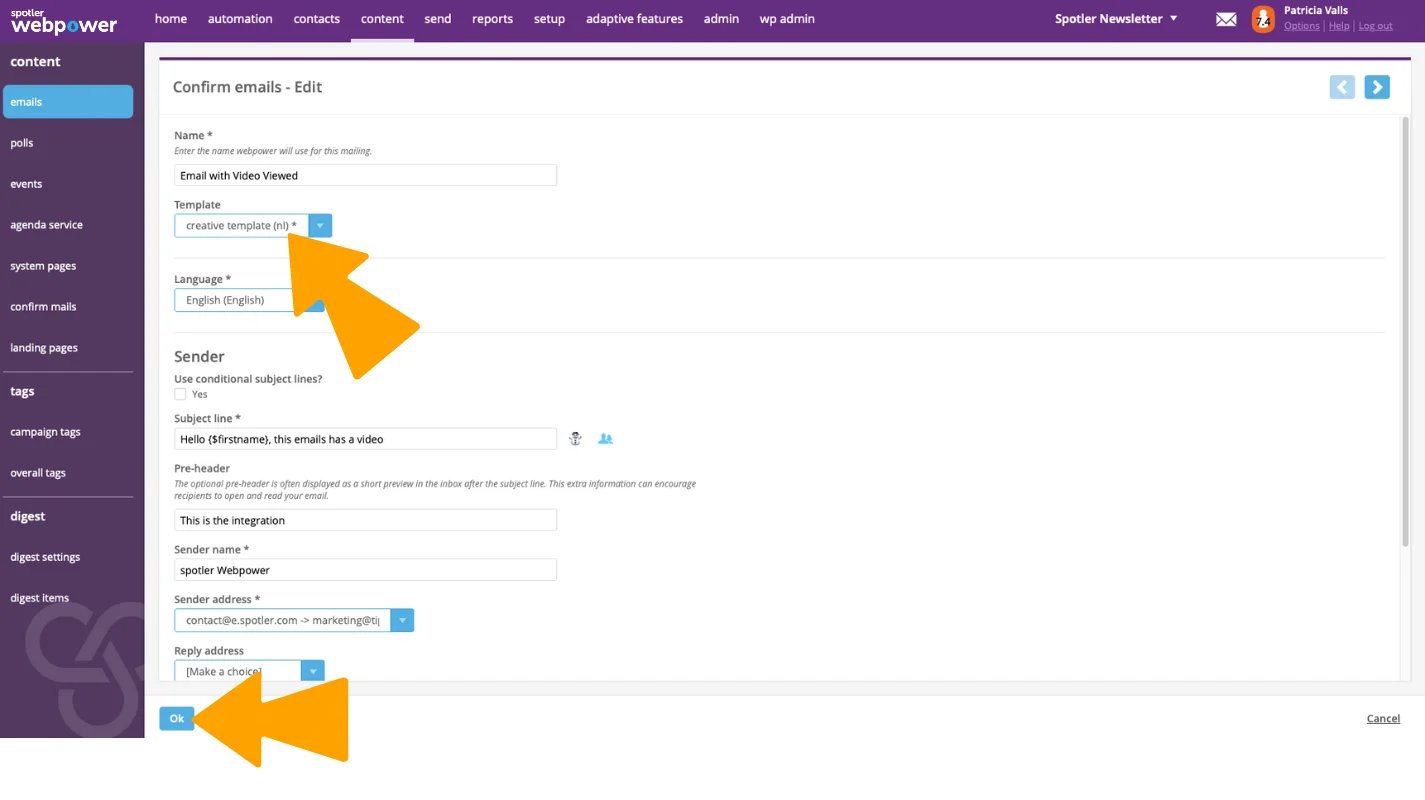
6. Create an email
Go to “content” , “emails” and click “insert” to create a new email.
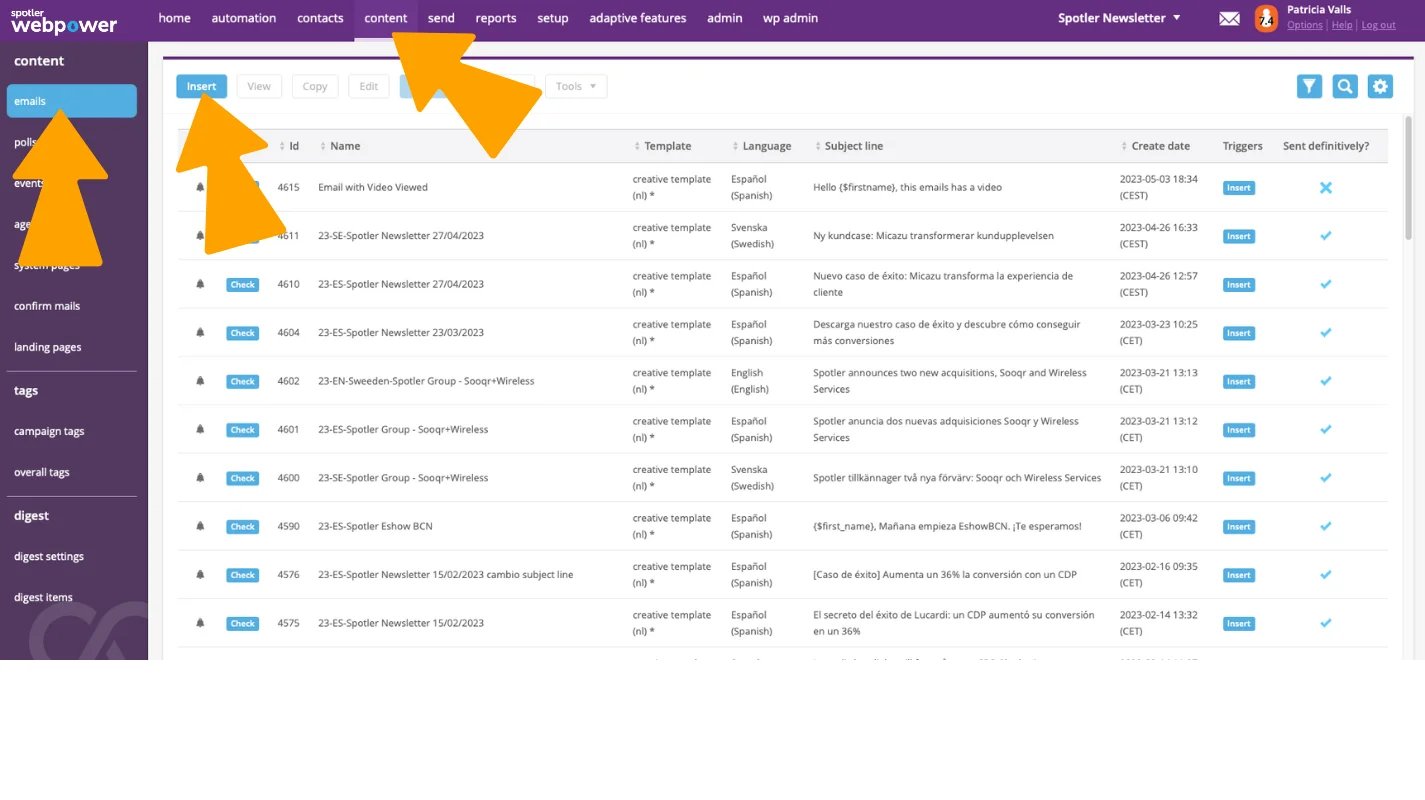
Add the “name” of the email, chose the template where you added the block, in this case “creative template”, and complete with the language, subject line, etc. When finish click “Ok” for saving.
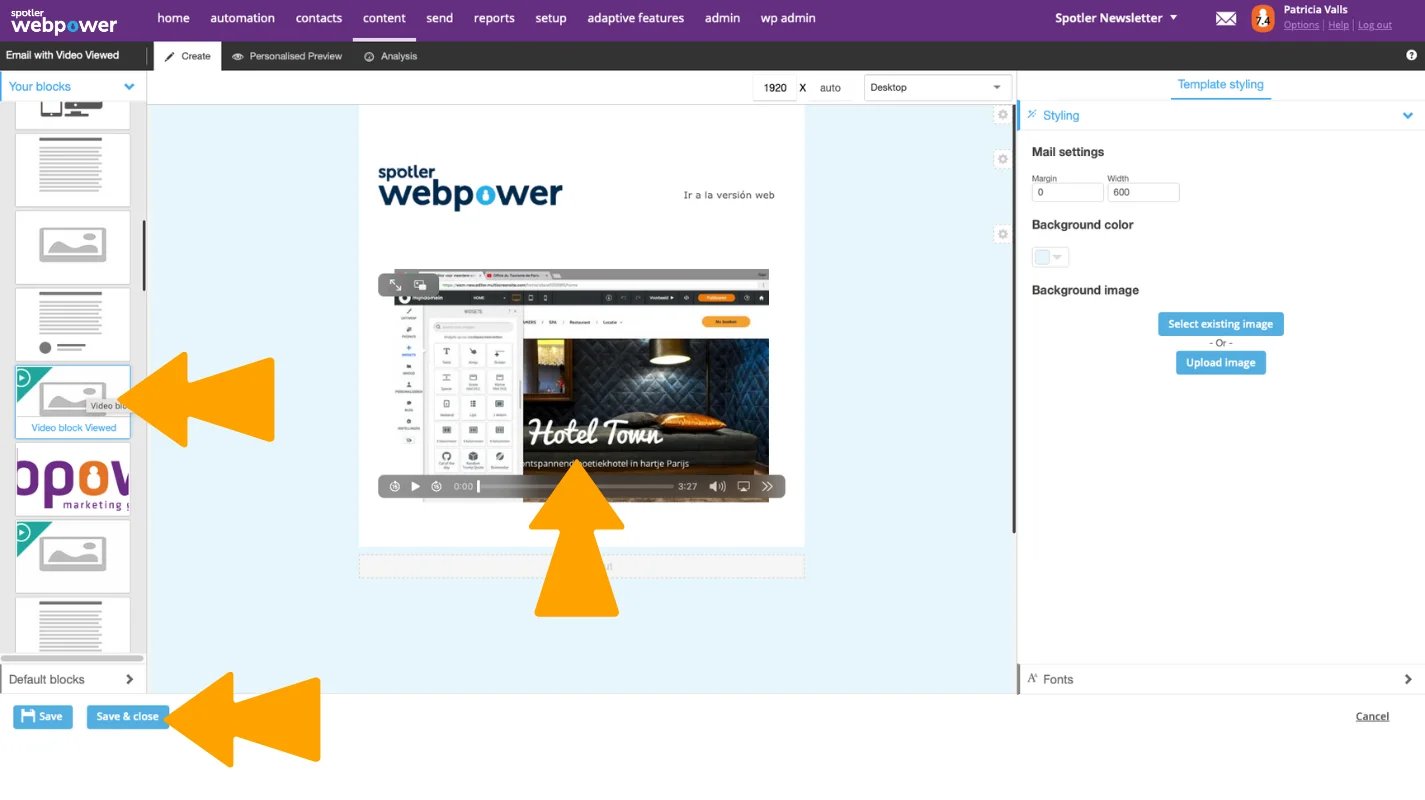
With the drag & drop editor add the “Video block Viewed” that you created before to your email and click “Save & close” when finished.
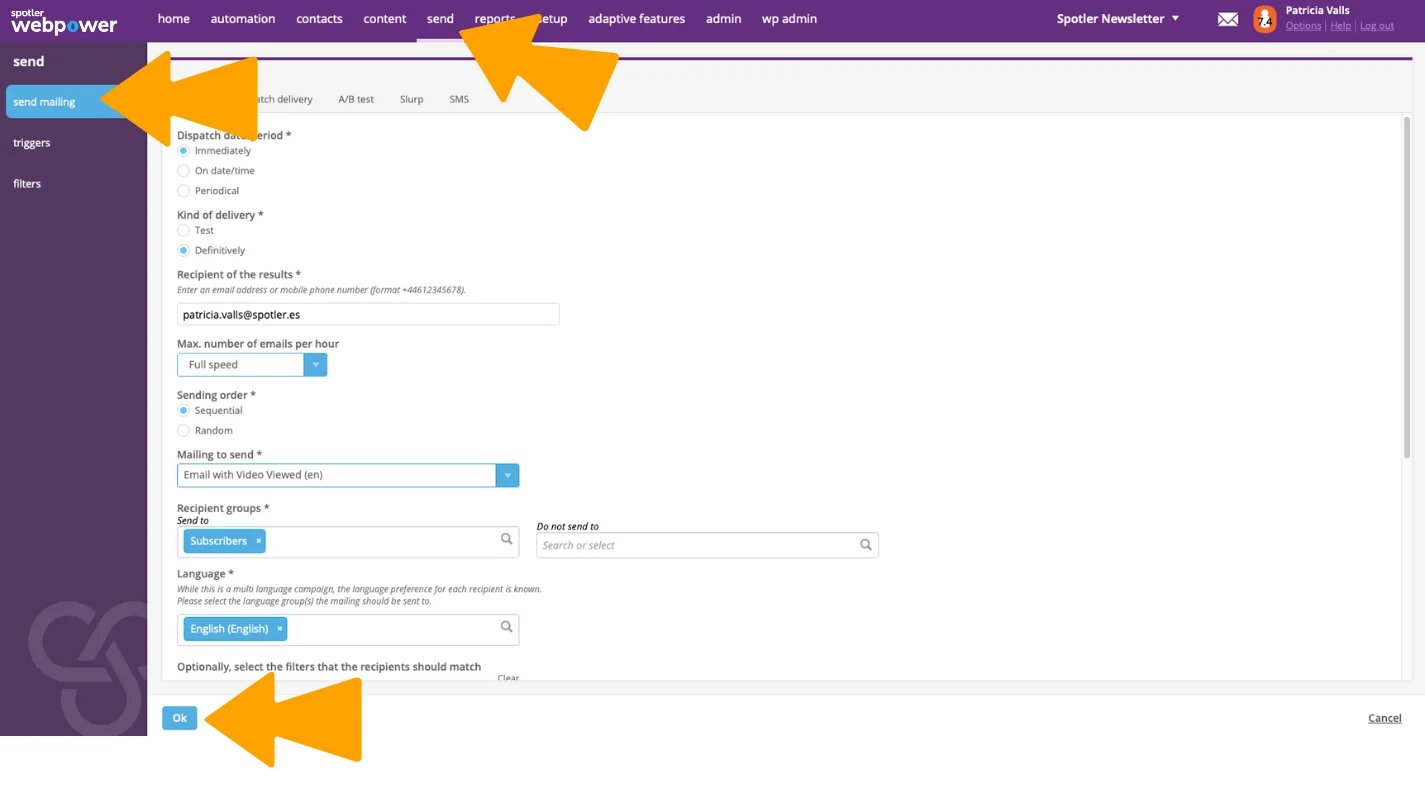
7. Time to send your video email
Now click on “Send“. You can first send a test email to check screenshots on most common clients and spam filters. After thatchoose the recipients list you want to send and the needed filters. You can send your video email now or schedule a date and time zone to do so. Now you are ready to go!
Congratulations! Your video is now ready to be sent via email.

.png)
.png)