Send autoplay videos with Mailchimp and improve your email marketing campaigns . Create high-impact loyalty, up-selling, cross-selling and branding campaigns with up to 170% higher CTR.
Learn more about how to bring your emails back to life and increase conversions up to 200% playing video in email with Mailchimp.
It is really easy to send a video in email with the integration of both platforms, just follow these steps:
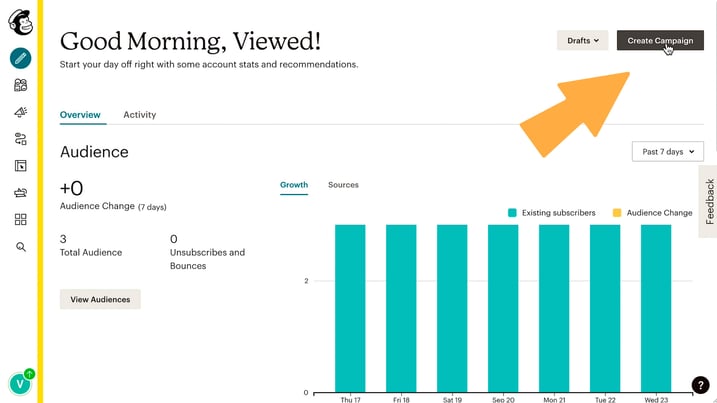
1. Create your template in Mailchimp
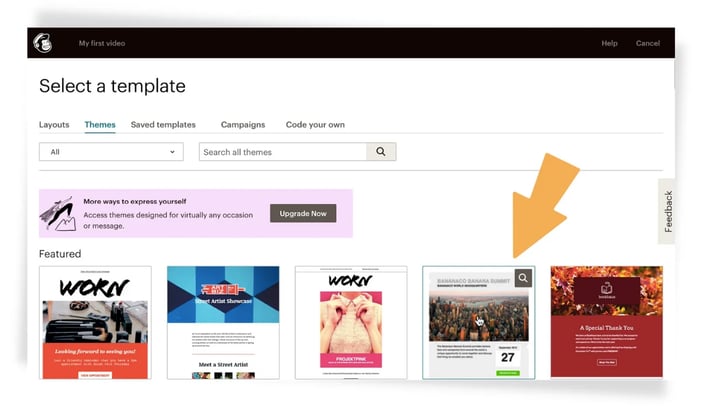
Login to your Mailchimp account and click on "Create Campaign" button. You can create a new template or select one you already have, but make sure the template you choose has an image. VIEWED will replace this image with the video later.
Take note of the width in pixels of that image, so that it corresponds to the width of the video you will put in the VIEWED settings.
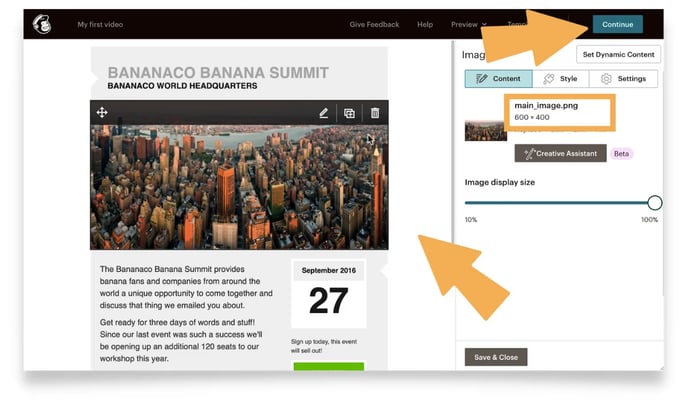
Don't forget to save your template!
2. Go to VIEWED and upload your video
Now is time to discover How to send a video via email.
Access your account from our platform page www.viewed.video by clicking on "Login" in the top right menu.
If you don't have a Viewed account yet, create one completely FREE. With this account you will be able to host 3 videos per month in our platform and get up to 5 thousand views per month. Get to know all the benefits of your FREE Plan.
Creating your account is very easy, you just need a corporate email and fill in a short form as shown in the picture below.
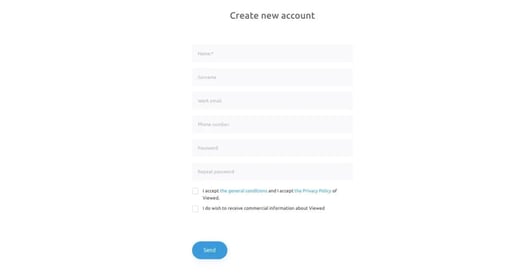
If you are an SME or freelancer and you do not have a corporate email, contact us, we will help you create one support@viewed.video.
3. Upload your video file
Viewed sends millions of videos by email every day. We have robust servers in partnership with Amazon and Google Cloud, allowing us to deliver your videos regardless of volume or user traffic.
Let's go!
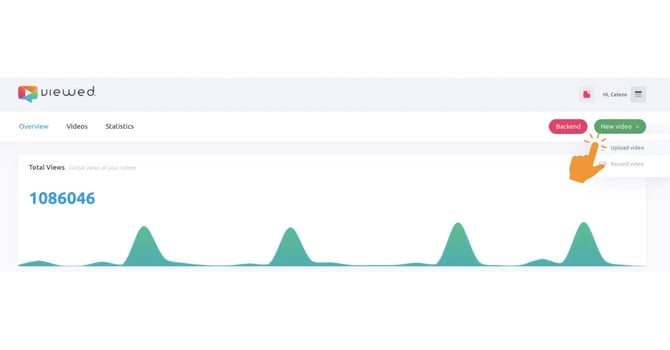
- Click the "Upload a video" button at the top right.
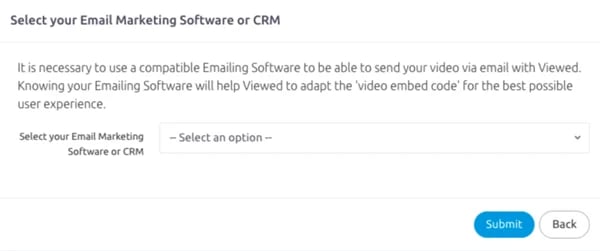
- The first time you upload a video you must select Mailchimp from our list of ESPs supported with VIEWED.
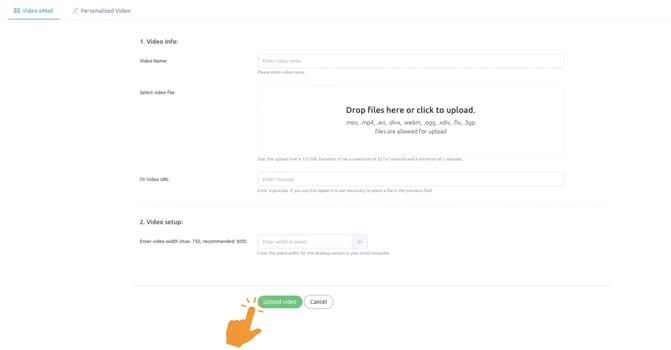
- Then fill in the fields as follows:
- Video name: It’s a name to identify the video in your list.
- Video file: Select your video file. You can use drag and drop or click to browse for it on your computer. You can also copy a link from YouTube or Vimeo. The maximum allowed size is 120 Mb. with a maximum length of 32,767 seconds.
- Video width: Is the width in pixels of your video in your HTML template (Max. 750, we recommended 600).
- Finally click on the green button "Upload a video" and let our platform work its magic.
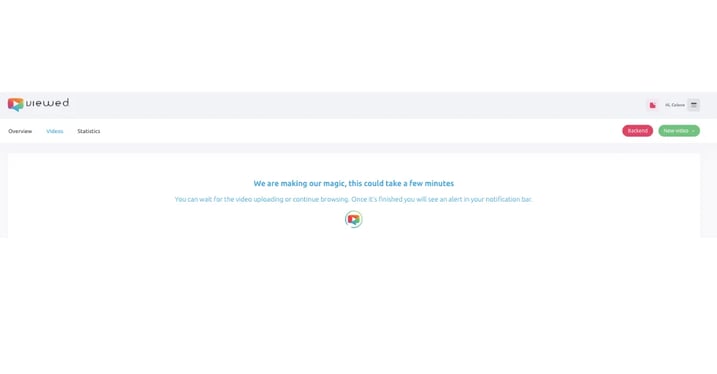
4. Coffee Time!
It's time for a cup of coffee. This process will only take a few minutes for your video to be ready.
Relax, our system will take care of everything. Viewed will automatically create all the necessary video formats to deliver the best possible experience to every OS, device and browser.
5. Get the code to embed the video within the email using Mailchimp
In this section "Share Video," you will find the different options to send video via email and embed it seamlessly within your message.

Select Send with Mailchimp button.
6. Connect Viewed and Mailchimp
The first time you use VIEWED and Mailchimp, you will need to connect both accounts.
- Click the connect button.
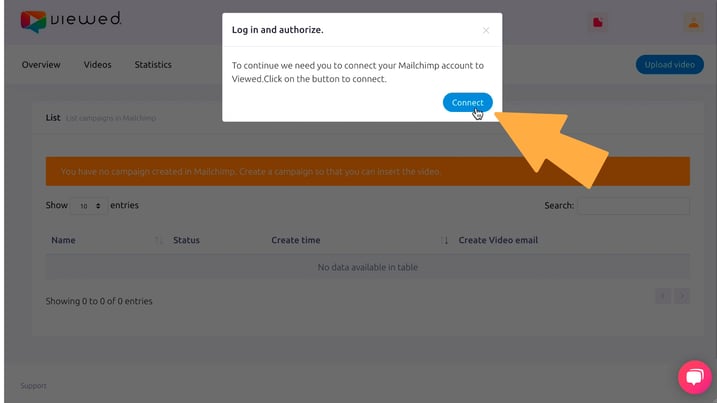
- Enter your Mailchimp username and password and click connect.

- Give VIEWED permission to access your campaigns by clicking Allow.
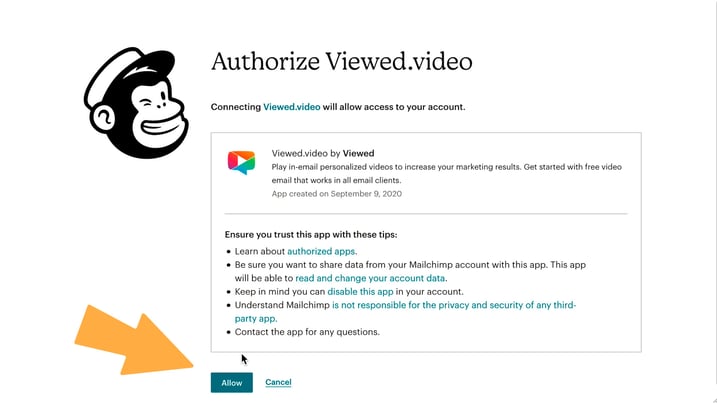
For your information: When connecting both accounts, VIEWED will not collect or save any information from your database. Our system will only have limited access to your templates in order to embed your videos within the email.
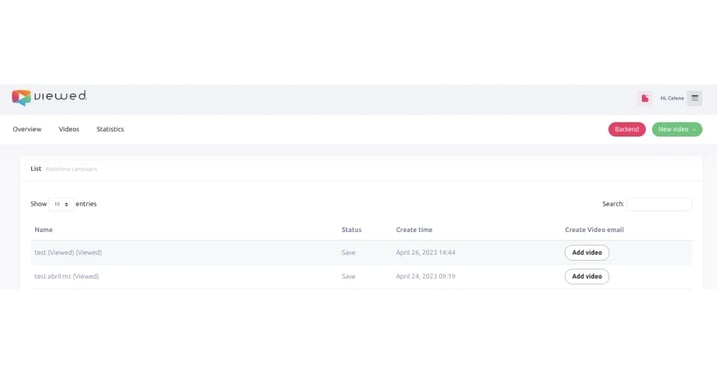
7. Select template
Select the campaign in which you want to ember the video and click on Add video.
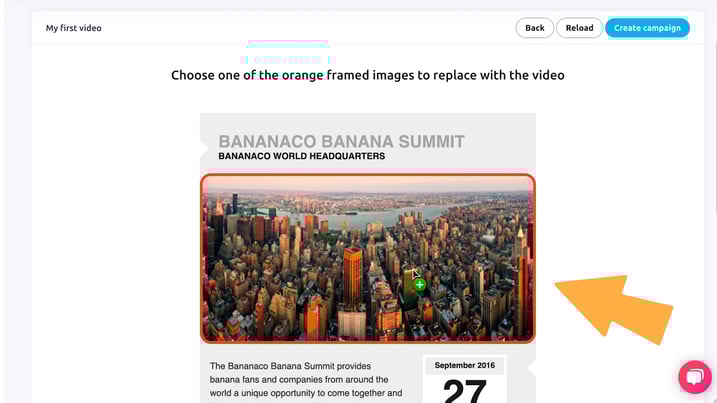
8. Embed the video within the email template
- Your campaign will load and you will see the images highlighted with an orange border.
- Select the image you want to replace with the video.
- That's it! You now have your video integrated.
Embedding a video should be the last step when creating your video email campaign. It is very important that you do not edit the template in Mailchimp after embedding the video. This action could break the compatibility of the video.
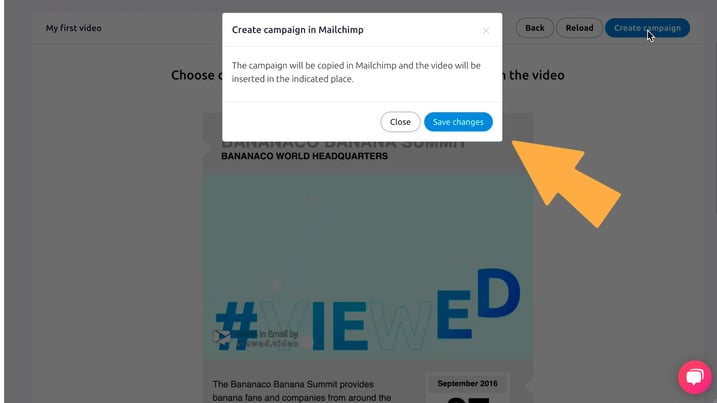
9. Create your campaign
Click on create camping and confirm that you want to save the campaign by clicking on Save changes. It is very important that from now on you do not edit your template in Mailchimp. This could break the video compatibility.
Ready!
You can now send autoplay videos with Mailchimp.
Enjoy the video in email experience in your next Mailchimp campaign and get better marketing results!

.webp)