Now that you know how to embed a video in email using Viewed, you will probably want to know how to configure the video within the email to improve the user's experience.
If you still don't know how to embed videos within the email using Viewed: How to embed a video in an email.
1. Why is it important to configure the display of your video?
Before sending out your video email campaign, it's important to take a few minutes to configure how the video will be displayed within the email.
As you know, the security filters of different email clients are becoming stricter, which means we can only show 10 or 30 seconds of the video within the email, depending on the email client your subscribers use. That's why it's crucial to configure what your subscribers will see in the email, as it will help capture their attention and pique their curiosity.
At Viewed, we analyzed the results of our most successful campaigns and found that recipients typically watch the first 8 seconds of the video before clicking. This has resulted in an increase of up to 170% in click-through rate and up to 200% in conversion rate.
But don't worry, this doesn't mean your subscribers will never watch the complete video. Our technology is designed to ensure compatibility with various email technologies and security filters. Once your users click on the video, they can enjoy the full video experience, with high quality and in an ad-free and distraction-free web environment.
2. Configure the video display in the email
If you have already copied the code of your video into your email marketing template, you don't need to delete it and paste it again every time you make a new configuration. Just make sure not to send the email marketing campaign with the video until everything is ready.
To start the configuration, select "HQ video email preview" from the left menu.
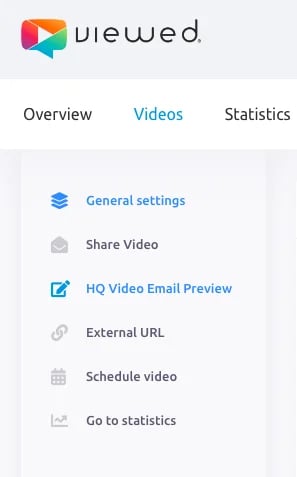
Below are the different video experiences that your subscribers can interact with: Fallback image, HQ video email preview, and Full video.
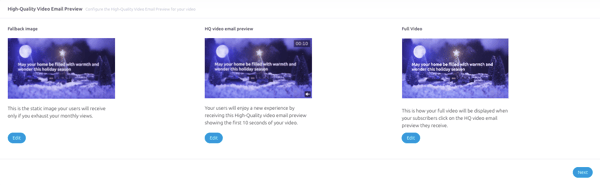
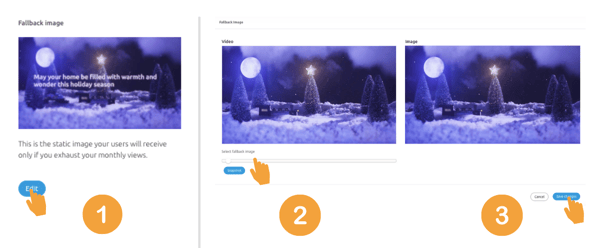
2.1. Fallback image configuration
It is the static image that your users will receive only if your monthly views are exhausted or if your users are using a very old version of Outlook.
- Click on the "Edit" button.
- Next, use the slider to select the frame and click on "Snapshot".
- Afterward, don't forget to select "Save changes" to save your modifications and continue.
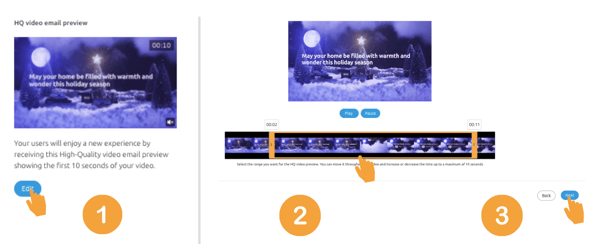
2.2. HQ video email preview
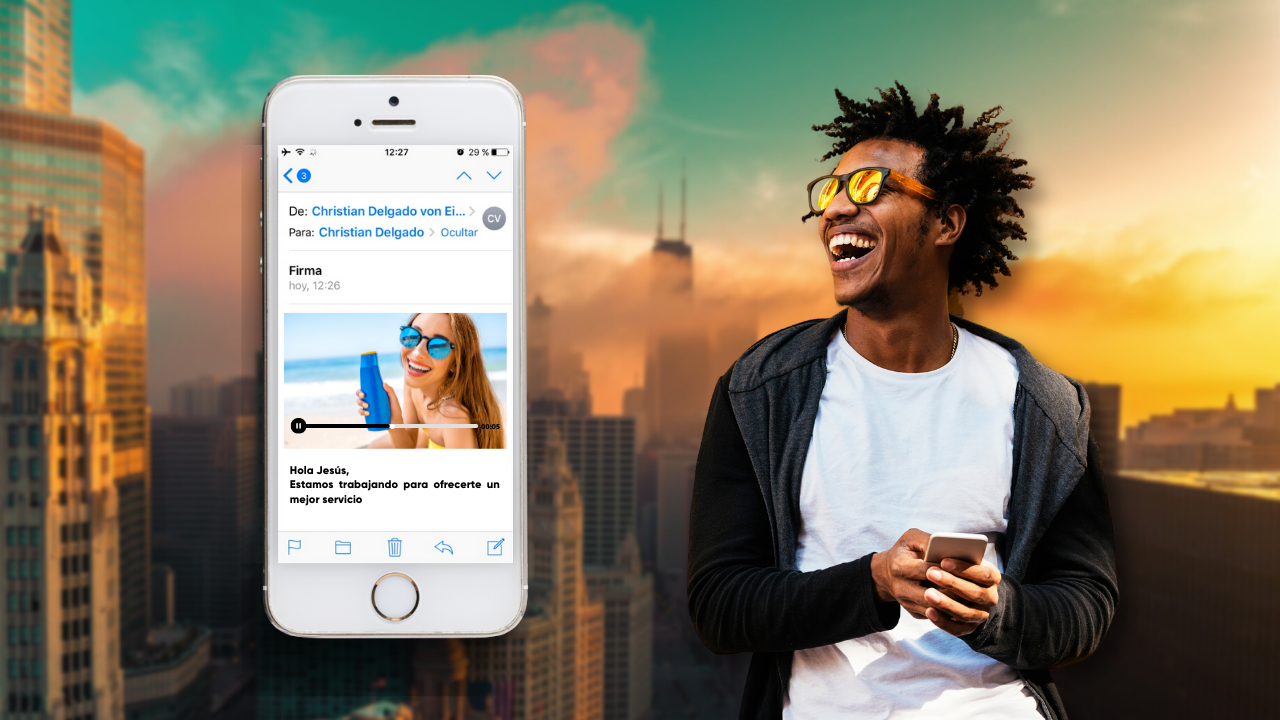
Your users will enjoy a new experience when receiving this high-quality multimedia file of 10 seconds within an email. We understand that 10 seconds may seem insufficient, especially if you have prepared a longer video, but we have strategically chosen this duration to capture the attention and pique the interest of your recipients. This video snippet will give them an idea of what they can expect if they decide to engage further. It is an effective way to invite them to visit the landing page or platform where the full video is located, where they can enjoy the complete duration and content you have prepared. This will help generate greater interaction and engagement with your audience, maximizing the impact of your message in every email.
Additionally, please note that the video duration cannot be extended beyond 10 seconds due to the email platforms' security filters. However, if recipients open the email from the Apple Mail application, our platform will automatically deliver an extended version of 30 seconds.
- Click on the "Edit" button of HQ video email preview.
- Drag the slider to indicate which 10 seconds of the video will be displayed within the email.
- Once you're done, select "Next".
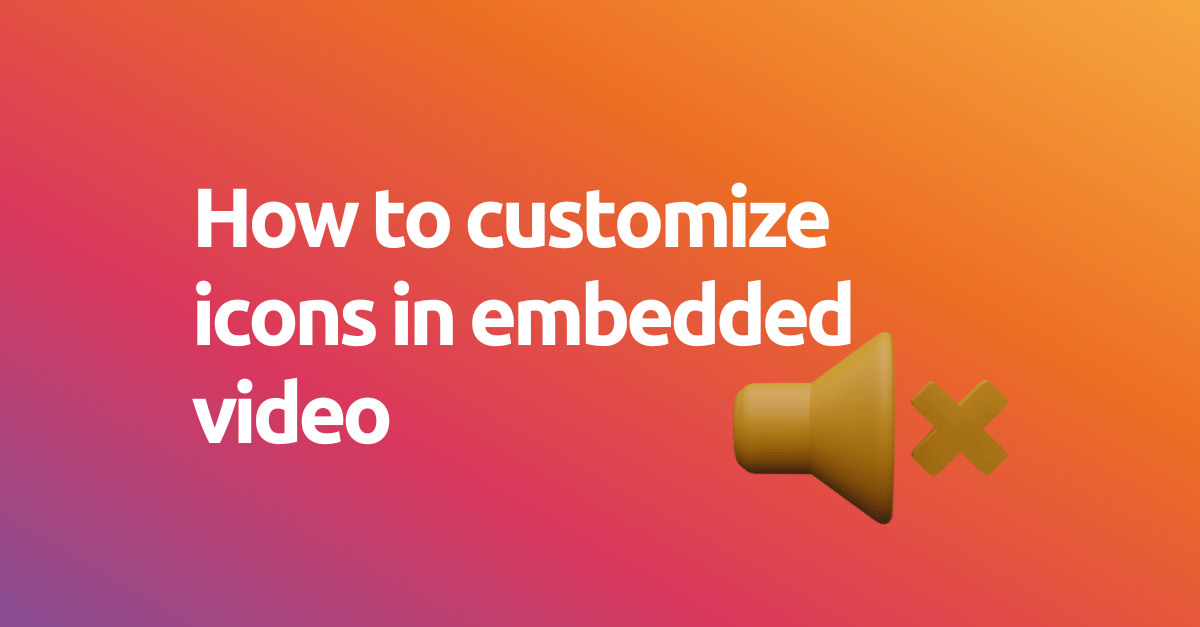
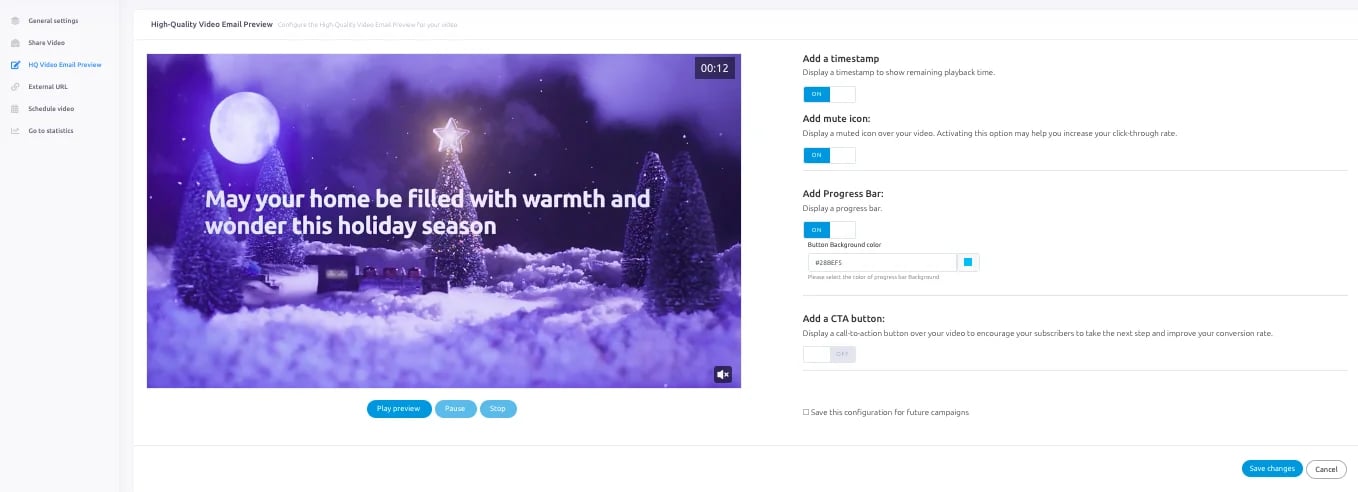
You will now be directed to a configuration panel for the icons that will appear within your video to generate a greater impact.
- Timestamp: Displays a timestamp to indicate the remaining playback time.
- Mute icon: Shows a mute icon over your video. Activating this option can help increase your click-through rate by persuading users that the video has sound.
- Progress Bar: As the name suggests, it is the bar that indicates the progress of the video. You can configure the color in which you want this bar to be displayed.
- CTA button: Adds a call-to-action button over your video. We will discuss this option in detail later.
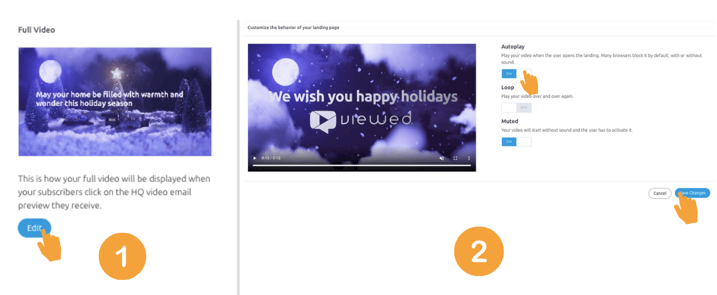
2.3. Full video configuration
When your subscribers click on the video within the email, whether to activate the audio or simply watch the video, they will be redirected to a landing page created by Viewed where there will be nothing but your video.
We recommend configuring the playback behavior you want your video to have on this space.
You can enable or disable the following options:
- Autoplay: Your video will start playing as soon as your user lands on the landing page.
- Loop: With this function, your video will play in a loop.
- Muted: Activate or deactivate the sound when the video playback starts.
Please note that, due to privacy policies, it is not possible to enable autoplay along with the sound activated.
Now that you know how to configure the video within an email, you can make the most of Viewed's platform for your email marketing campaigns.
Stay tuned to our blog, where we share tips to enhance your email marketing campaigns.